Cleaning your Xbox DVD drive
If you are getting constant dirty disk errors, what do you have to loose, give this a try. The majority of the drives are not really dirty cleaning it will not fix the problem, they are getting out of adjustment or just getting weak. Try not to get your hopes up, too much sometimes you will be improving a DVD from constant errors to less frequent glitching and pausing during movies and games. But I guess that is better than nothing.
Necessary tools:
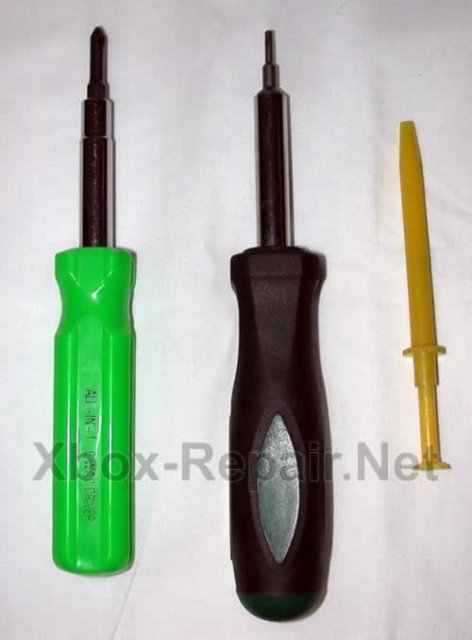
Torx #10
Philips #1
Q-Tips
Lens Cleaner
Compressed air
Helpful tools:
Magnetized Philips #1 or screw grabber
Words of advice before we begin, leave the small ribbon cables that connect components within the drive alone. If you feel you must disconnect and reconnect a few while you are in there, note that there is a brown wedge in each of the sockets that needs to be pulled out to allow the ribbon to be released.
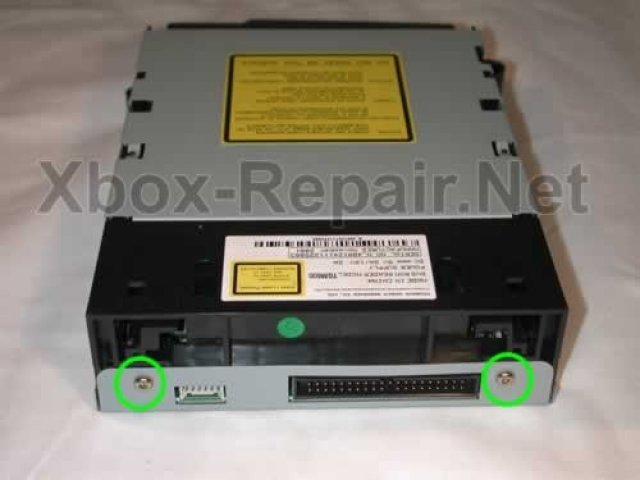
There are four screws that need to be removed. Two in the rear
and two in the top, mid drive.
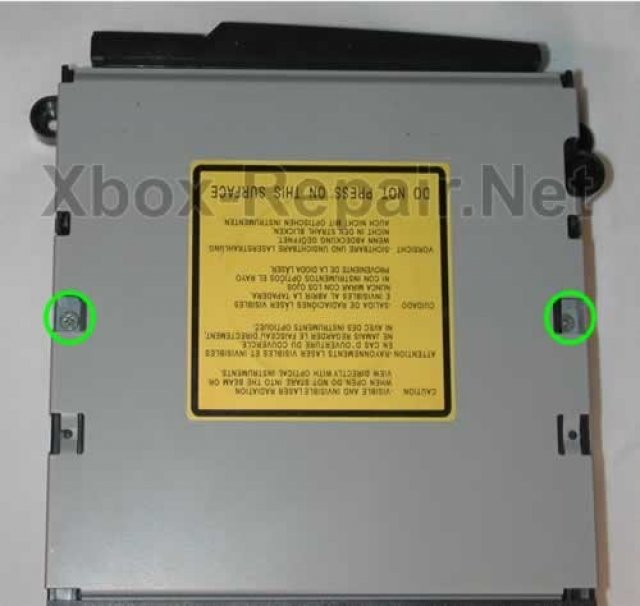
Remove all four screws, the ones mid drive are a little hard to get out, screw grabber makes it easy, shaking the drive upside down works too.
Remove the bottom tray first, flip the drive so the bottom is facing up. You need to pull the metal tab in the back over the IDE connector and then it will then slip off. Pull out then up.
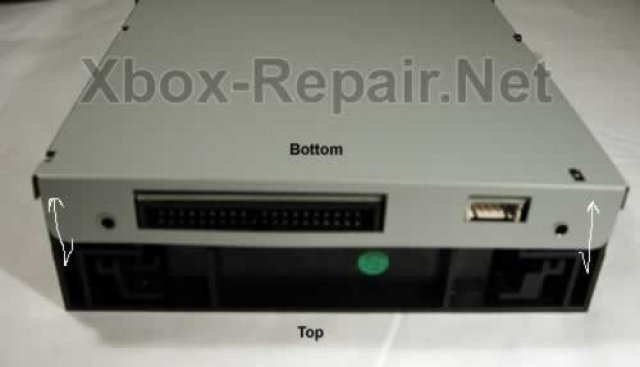
Now remove the top, you have to push in two catches near the front on either side of the drive to allow you to tip up the front of the top panel like this.
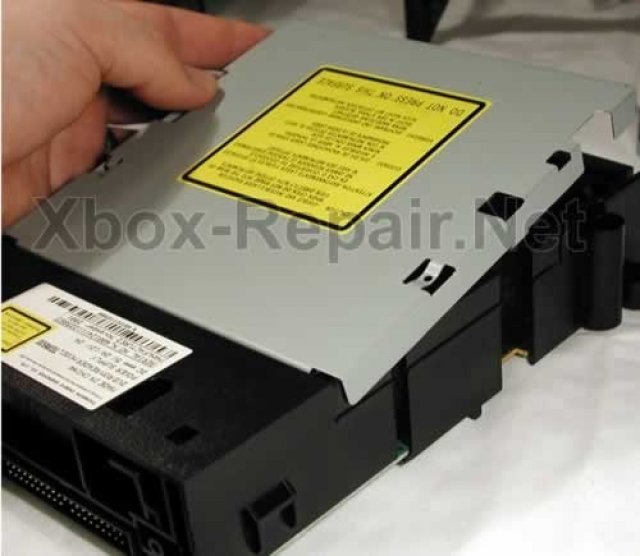
Now you have access to both the lens.
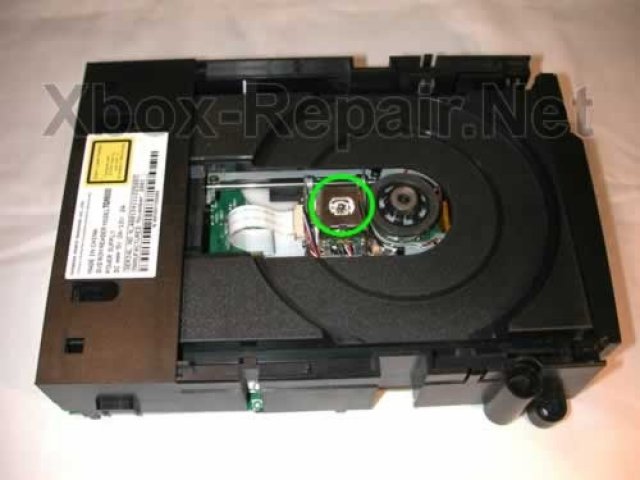
and the mirror
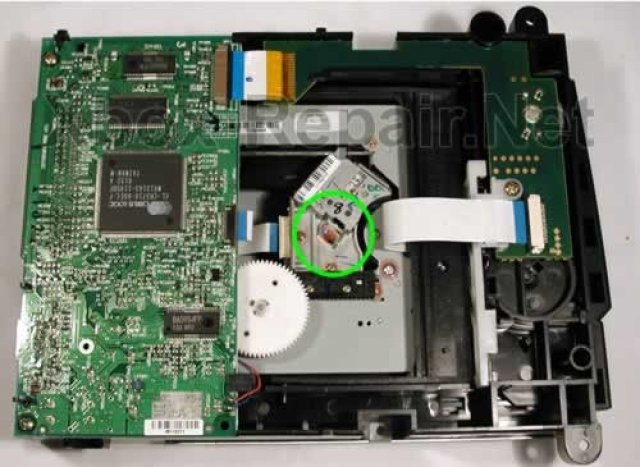
Blast the optics with canned air, then continue on to the blast the rest of the DVD chassis trying to blow the remainder of the dust away from the optics. Using a Q-tip, clean the mirror and the lens with a high quality lens cleaner. I like to use anti static lens cleaner but any glass cleaner should work, I have even heard of plain alcohol being used. The goal is to leave a streak free finish and use one end of the wetted q-tip to clean an the other to dry. BE CAREFUL NOT TO SCRATCH THE MIRROR
One DVD in my collection had a single fiber from cloth on the outside of the mirror, this seemed to be the major cause of the problem but the drive still suffers from occasional errors.
UPDATED 8/28/03 Thanks CPU64!
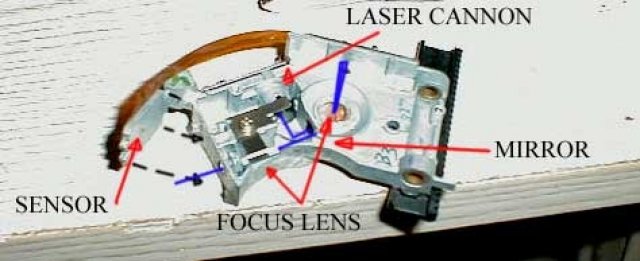
"Here's a picture I just made showing all the parts involved in directing the laser to the disc and back. Here you'll see that just cleaning the top lens and the bottom mirror isn't really enough.
This is the lens piece without the top lens section. In total, there are 11 sections in that little piece that need to be cleaned to bring the drive back to full potential.
Also notice in the picture the SENSOR is detached from the main body. The little opening in between the sensor and the last focus lens (bottom left) is the most important place to be cleaned and can easily be done with compressed air."
Re-assembly is the reverse of assembly, start with the top and then attach the bottom. If you do not have a handy screw grabber or magnetized screw driver, have fun getting the top two back in place.
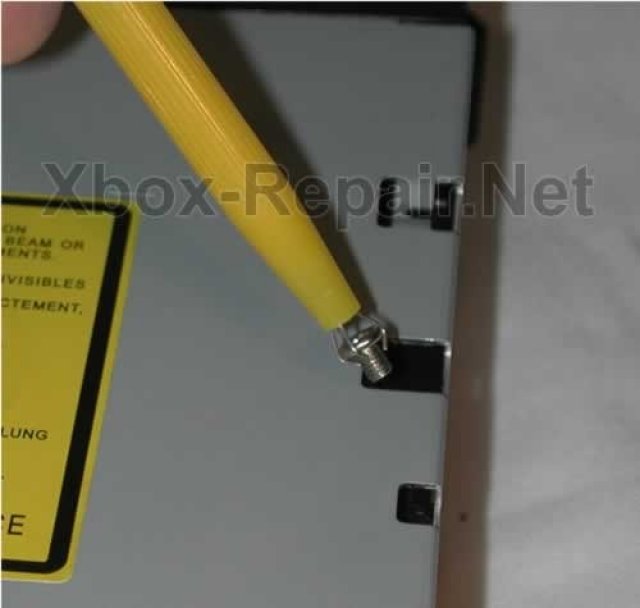
You will probably need to pinch the top and bottom together and shift them back and fourth to get the screw holes to line up perfectly. Finish off with the rear screws, re-assemble the Xbox and hope you made things better rather than worse.


