Dreamcast-PC server guide for Windows XP/Vista/7 and Linux - part 2

Step 4: Dreamcast Setup
Almost done, now lets fire up the DC with Planetweb 2.6 or dreamkey.
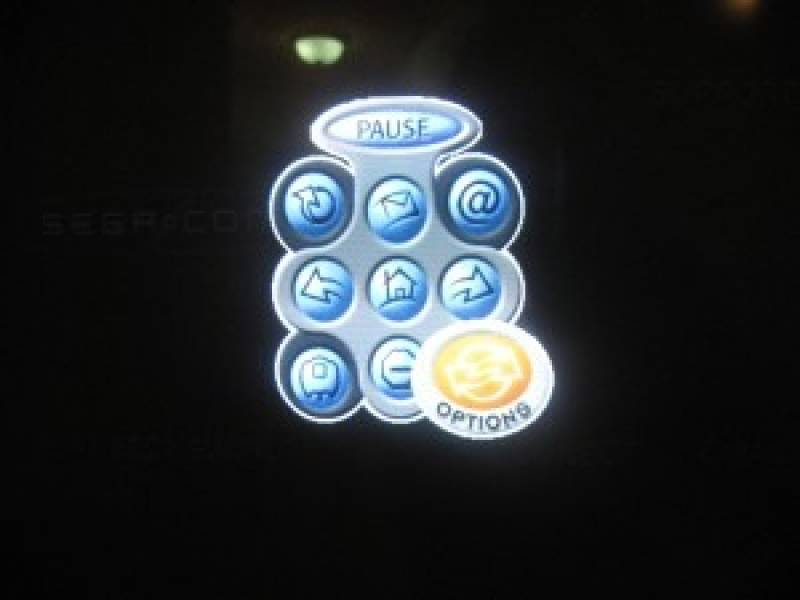
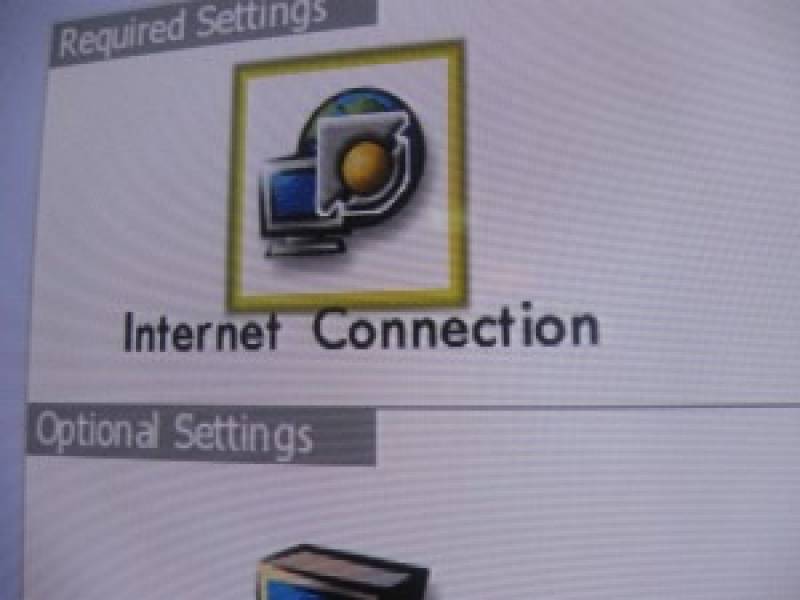
Hit start -> options -> Internet Connections
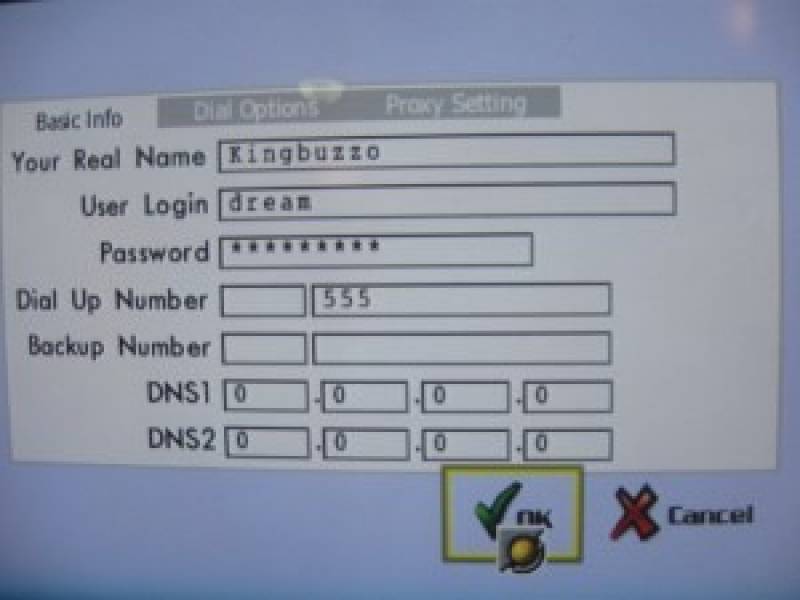
Real Name: Can be anything
User Login: dream
Password: dreamcast
Dial Up Number: 555
Backup number: (leave blank)
DNS1: 0.0.0.0
DNS2: 0.0.0.0
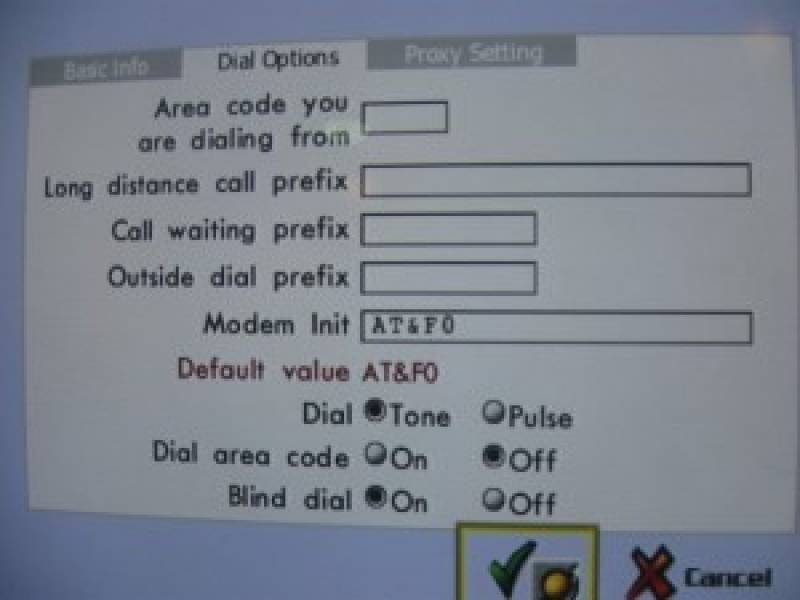
Next on to Dial Options
All that matters here is the following
Modem Init: AT&F0
Dial area code: Off
Blind Dial: On
The rest can be left blank
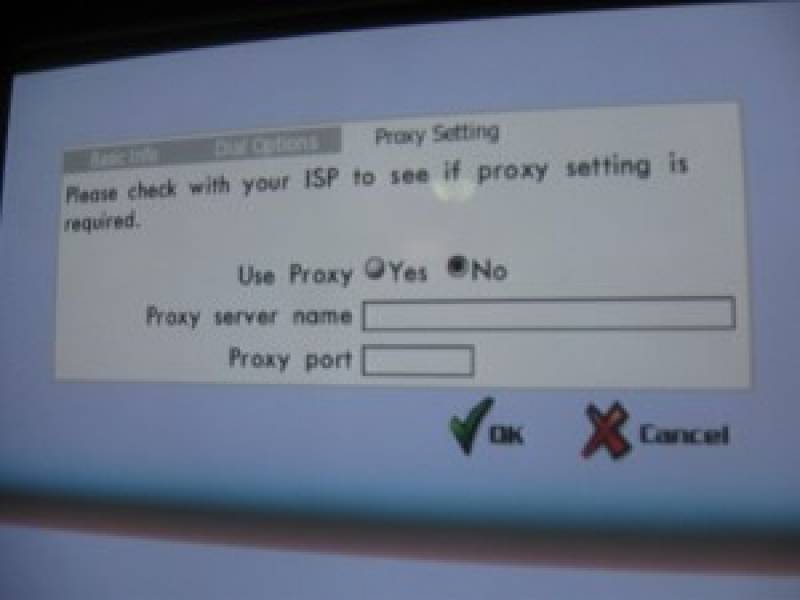
Next to the Proxy Settings Page
Use Proxy: No
Save your configuration


Step 5: Running your PC-DC Server
Now the fun part, let’s test it out!
I usually have a terminal open with about 4 tabs open (right click+t). Two will be running commands to connect with, and the others to log what’s happening…
So lets start mgetty. Remember to use the proper modem location.
sudo /sbin/mgetty -s 115200 -D /dev/ttyS0
in the next tab we will log mgetty
sudo tail -f /var/log/mgetty/mg.ttyS0.log
then any server messages in the next..
sudo tail -f /var/log/messages
you should now have one tab left open. This will answer the Dreamcast when it calls our server, and must be run within the Dreamcast’s call window. It’s pretty easy to tell, and there’s a fairly large window of time to do it. In planetweb, it’s when you see your number (555) dialed. In PSO, its when it says “dialing”. When you see those messages, wait 5 seconds, and run this command.
sudo killall -USR1 mgetty
If all goes well, you’re mgetty.ttyS0.log should look like this..
08/28 03:05:32 yS0 mgetty: interim release 1.1.36-Jun15 08/28 03:05:32 yS0 WARNING: parent process not init(pid=1), but pid=4343 (/bin/bash) 08/28 03:05:32 yS0 check for lockfiles 08/28 03:05:32 yS0 locking the line 08/28 03:05:32 yS0 lowering DTR to reset Modem 08/28 03:05:33 yS0 send: \dATQ0V1H0[0d] 08/28 03:05:33 yS0 waiting for ``OK'' ** found ** 08/28 03:05:33 yS0 send: AT[0d] 08/28 03:05:33 yS0 waiting for ``OK'' ** found ** 08/28 03:05:34 yS0 waiting... 08/28 03:12:59 yS0 wfr: waiting for ``RING'' 08/28 03:12:59 yS0 cannot set controlling tty (ioctl): Operation not permitted 08/28 03:12:59 yS0 >>> this might be caused because you have run mgetty/vgetty 08/28 03:12:59 yS0 >>> from the command line. Don't do that, use /etc/inittab! 08/28 03:12:59 yS0 send: ATA[0d] 08/28 03:12:59 yS0 waiting for ``CONNECT'' ** found ** 08/28 03:13:13 yS0 send: 08/28 03:13:13 yS0 waiting for ``_'' ** found ** 08/28 03:13:16 ##### data dev=ttyS0, pid=4601, caller='none', conn='57600', name='', cmd='/usr/sbin/pppd', user='/AutoPPP/'
and your /var/log/messages like this
desktop# pppd[4601]: pppd 2.4.5 started by root, uid 0 desktop# pppd[4601]: Using interface ppp0 desktop# pppd[4601]: Connect: ppp0 < --> /dev/ttyS0 desktop# pppd[4601]: pam_sm_authenticate: Called desktop# pppd[4601]: pam_sm_authenticate: username = [dream] desktop# pppd[4601]: Warning: Using default salt value (undefined in ~/.ecryptfsrc) desktop# pppd[4601]: user dream logged in on tty ttyS0 intf ppp0 desktop# pppd[4601]: PAP peer authentication succeeded for dream desktop# kernel: [ 783.664240] PPP BSD Compression module registered desktop# kernel: [ 783.686698] PPP Deflate Compression module registered desktop# pppd[4601]: found interface eth0 for proxy arp desktop# pppd[4601]: local IP address 192.168.1.102 desktop# pppd[4601]: remote IP address 192.168.1.105
Step 6: (OPTIONAL) Building a Line Voltage Inducer
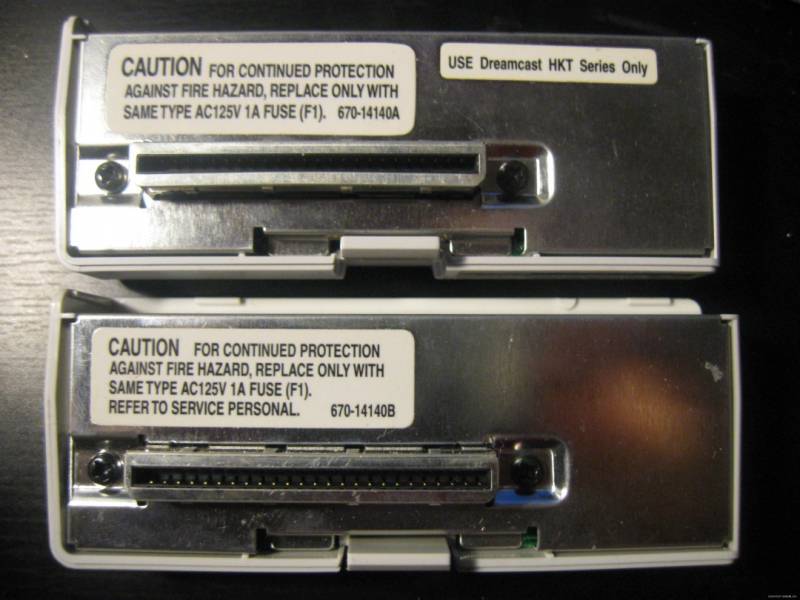
There are 2 different revisions of the Dreamcast Modem. One requires that there be voltage present in the phone line, and one does not.
Each have a model number of 670-14140 with a revision letter A or B. Revision A does not require voltage, Revision B does. This means that you will get a NO CARRIER response when using a Revision B. If you still get a NO CARRIER response while using a Revision A modem, it could mean that the modem for your PC is requiring voltage.

With some very basic electronic parts, we can simulate this line voltage by building a Line Voltage Inducer.
Needed Parts and Digikey.com Part Numbers:
- RJ11 Phone Cord (A1642R-07-ND)
- 1.0UF Capacitor (P5174-ND)
- 390 ohm Resistor (PPC390XCT-ND)
- Battery Snap (377-1549-ND)
- 9v Battery (N145-ND)
- Perfboard (V2025-ND)
Of course you’ll need a soldering iron, solder, wire strippers, and a steady hand. Please don’t try this with tape!
Step by Step Line Voltage Inducer Build:
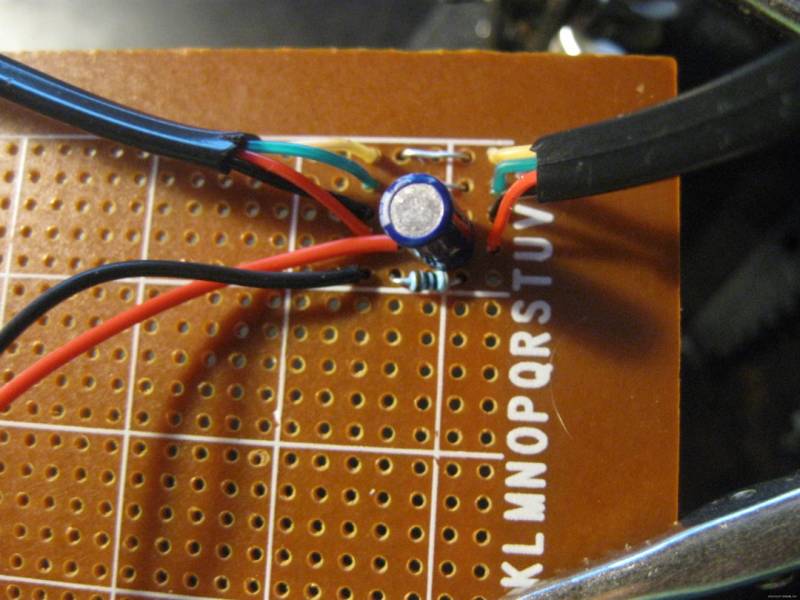
Don’t worry about the polarity of the Capacitor as it makes no difference in this circuit.
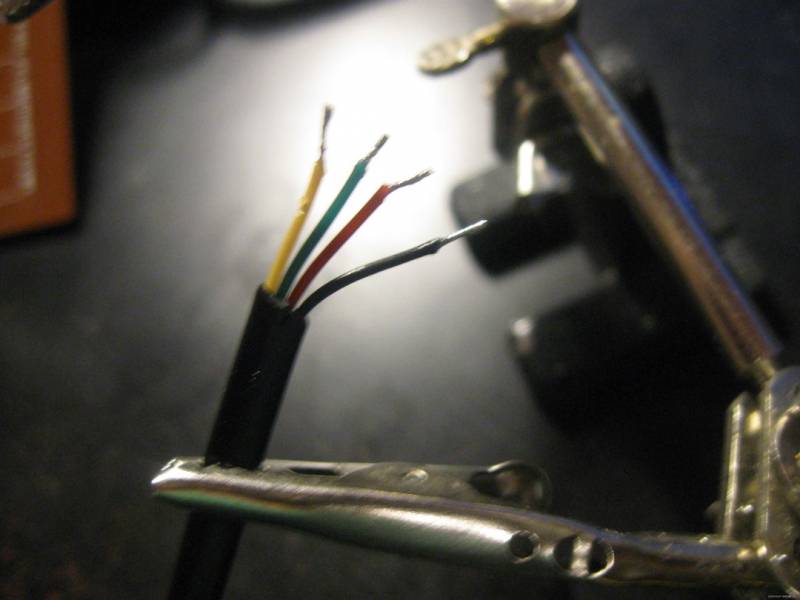
- Strip and tin each wire of RJ11 phone cord
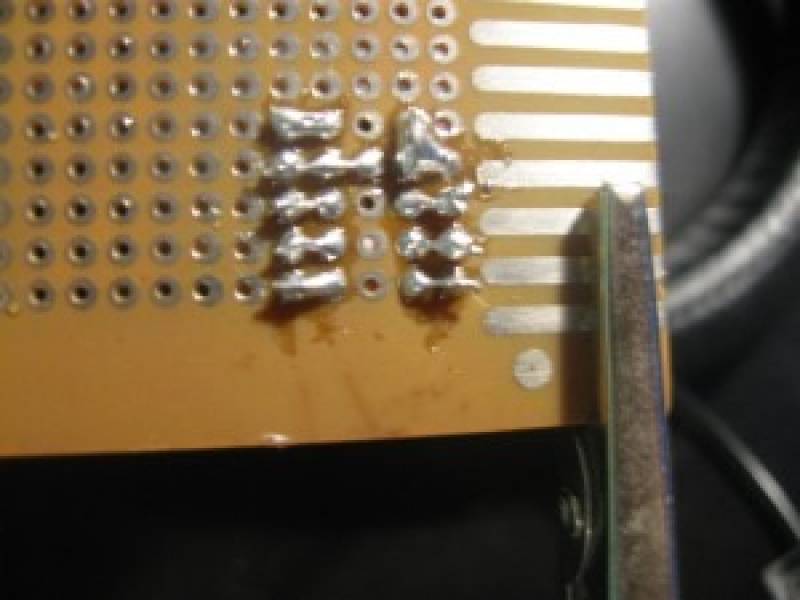
- Solder to board
- Red wire soldered to a leg of the Resistor and of the Capacitor
- Black wire of Battery Snap soldered to opposite resistor leg
- Opposite leg of Capacitor soldered to Red wire of Battery Snap and Red Wire of Opposite RJ11 Phone Cord
- Connect each remaining RJ11 wires to their respective colours.
- Plug in a Battery and test it out!
Be careful, while the perfboard is very strong, RJ11 cords are not, and their wires can easily break from the perfboard without much pressure. You can strengthen their connection with a glue gun, or another non-conductive glue.


Phantasy Star Online
Phantasy Star Online is the most popular online game for Dreamcast. However, Sega’s servers have been offline since 2007 in Japan/Europe, and since 2003 in North America.
Thankfully, the PSO community has reverse engineered server software and we can now continue playing PSO until the end of time. There are various servers available.
Online Consoles hosts their own Dreamcast PSO server and is the best place to avoid cheaters and hackers that could potentially ruin your game. The downside is that they have you enter an application process before you can join in an effort to keep hackers out. That said, it is the most secure place for PSO anywhere.
If you don’t yet have access to the legit ship, Sylverant has a pso server that is open to the public. They are currently testing their new server software, but activity should pick up.
To get online with PSO you will need either PSO v2 PAL, PSO v1 PAL, or PSO v1 NTSC. These are the only versions that can access the private servers of Online Consoles and Sylverant. PSO v2 NTSC will not work.
Simply setup the guide as indicated, make sure you ms-dns line is set to the ip of the PSO server you wish to connect to, and enjoy your new addiction!


CONCLUSION:
If all goes well, you should be able to browse the web like it’s 9/9/99, and that’s a beautiful thing. Please post your working configuration (OS, Modem, RevA or RevB, etc) in our forums so we can make a compatibility list.
Our own test was done using…
- Windows 7 Ultimate 64 biy
- ZOOM 3095 usb modem
- Crunchbang 9 and 10 32bit and 64bit
- Dreamcast modem Rev.A and Rev.B
- Line Voltage Inducer
This usb modem required the Line Voltage Inducer even with the Rev.A modem
Both Rev.A and Rev.B were able to browse the internet with Planet Web 2.6 and Dreamkey. However, only the Rev.A was able to connect reliably with PSO V2 PAL.
Please write your comments, ideas, and problems in our Forums.
Thank you for reading, and we hope this guide has been helpful in bringing you the Online Dreamcast experience!
CREDITS:
Thanks to the following guides for providing the info needed to make this guide possible…
Bourke228 provided the first guide to using VMWARE
Ryochan provided the first guide for Ubuntu
http://www.ryochan7.com/blog/2009/06/23/pc-dc-server-guide-part-0-introduction
DarkMoon provided the first step by step guide for Linux and NetBSD
http://ragol.homeunix.net
Lordnikon and Dreamcast â„¢ provided and tested the Windows 98 guide with each online enabled Dreamcast Game and Browser.
http://dreamcast.onlineconsoles.com/phpBB2/guides_pcdcwin98.php